 |
Step One: Open Microsoft Word
If you're using a ScrapSMART CD, insert it in your computer's CD-ROM drive and open Microsoft Word.
If you're planning on using a ScrapSMART Downloadable image, take note of where you have saved it on your computer from your email.
|
 |
Step Two: Inserting Your Image
Starting with a new document, go to "Insert" on your file menu (at the top of the screen), then select "Picture", and then choose "From File".
A dialogue box will appear, prompting you to choose which image you want to use and where to find it. |
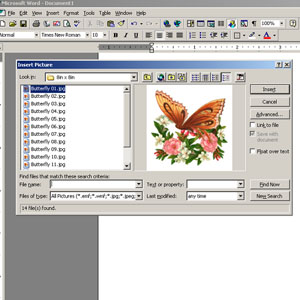 |
Step Three: Choose Your Image
Locate your desired file on either your CD-ROM drive or on your computer's hard drive where you save your Downloadables.
Click "Insert" |
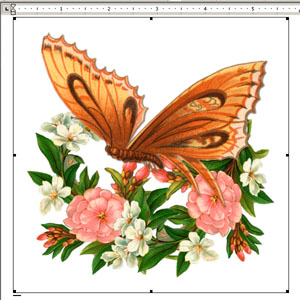 |
Step Four: Resizing Your Image
Click the inserted image to reveal small black boxes on each corner. These boxes can be clicked and dragged to resize your image to your desired dimensions.
|
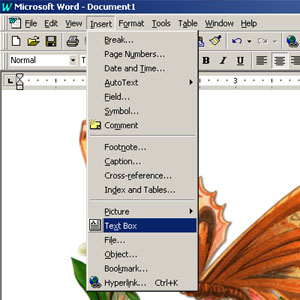 |
Step Five: Adding a Text Box
In order to add your own personal greeting or name to the image, you will first need to insert a text box. Firstly, click away from the image you placed in the document -- the small black boxes should disappear.
Click "Insert" on your file menu and then select "Text Box". Your cursor should now be a "+" and can select an area on your document where you'd like to type your message. |
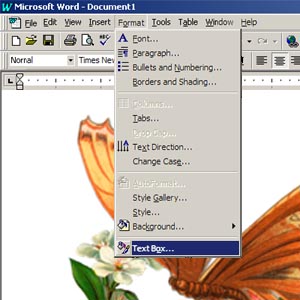 |
Step Six: Editing the Text Box
Click "Format" on your file menu and then select "Text Box". On the first tab, "Colors and Lines," you can choose colors for the background and outline of the text box. Choose "No Fill" for the fill color and your text box will be see-though. This will allow the image behind it to be seen. |
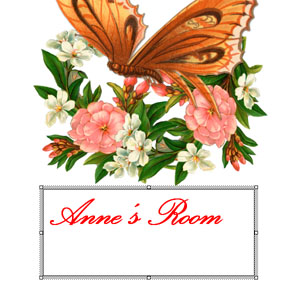 |
Step Seven: Be Creative!
Change the color, style, and size of your words to match your artwork. Browse the fonts list to see what lettering best expresses your message!
|
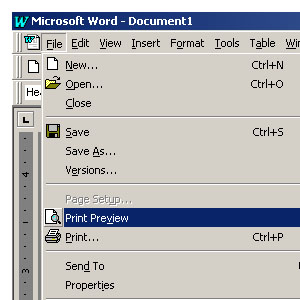 |
Step Eight: Print
When you've completed your project's layout, go to your file menu again and choose "File" and "Print Preview" to see what your final product will look like.
Print out your image on printable fabric, cardstock, vellum, magnetic material, sticker-back paper, or anything else your printer can use! |