|
|
How To Edit Images with Picasa
Google's Picasa is a free program that you can use to edit our images and your photos. Eliminate the frustration of having just the right graphic, but the design is too large, small, or going in the wrong direction! Resize or reformat the design to fit the application. Make the designs fit your quilt blocks perfectly! Embellish scrapbooks and altered art. Create cards with ease. Plus:
• Put multiple designs on a sheet
• Frame your photos or artwork
• Make Adjustments: Crop, straighten, rotate, color correct, shrink, enlarge, lighten, darken, etc.
• Special Effects: Sepia Tone, sharpen, colorize, tint, and more.
• Automatic and manual resizing: 4” x 6”, 5” x 7”, 8” x 10”, pocket size, multiple print layout, and more.
|
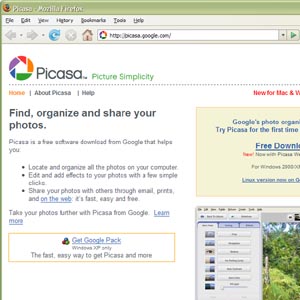 |
Step One: Downloading Picasa
Go to the Picasa website (click here) and download Picasa for free.
Locate the Picasa .EXE file that you just downloaded. Double-click it and follow the intallation instructions. |
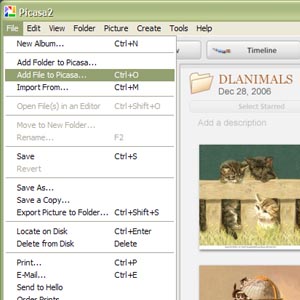 |
Step Two: Opening Images In Picasa
Once Picasa is installed, double-click the Picasa icon (probably on your Desktop) to open the program. Picasa will automatically scan your computer for image files.
If the images you are looking for don't show up, click on the File menu (upper left corner of the Picasa window) and select "Add File to Picasa." Browse your computer to find the images you want to edit, then click "Open." When the image shows up in the Picasa library, double-click it to begin editing. |
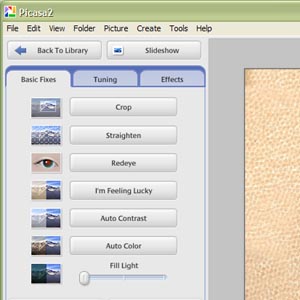 |
Step Three: Editing Images In Picasa
Go to File, and select "Save As". Choose where on your computer you want to save the image and what you want to name it. Saving a file under a different name will leave the original image untouched, in case you want to go back to it later.
Now you can experiment with the editing tools in the upper left corner. The Basic Fixes, Tuning, and Effects tabs each contain several different editing tools, such as cropping, resizing, and color and lighting adjustments.
If you don't like an adjustment you made, you can click the "Undo" button beneath the editing tools. |
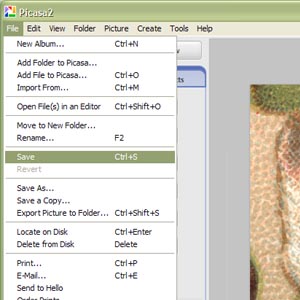 |
Step Four: Saving and Printing
If you're satisfied with the changes you've made, go to File and select "Save." Then you can go to File again and select "Print."
Print out your image on printable fabric, cardstock, vellum, magnetic material, sticker-back paper, or anything else your printer can use. |
Ready to give it a try?
Click here to view our library of Downloadable images , or
click to view ScrapSMART's CD Collections.
Click here to see our other helpful guides, including how to add custom text to your images!
|