by Bernice Lavarnway
Supplies and Techniques used:
- Georgia-Pacific White Card Stock 8.5 x 11 110lb – folded in half for card base
- white, black & blue - cardstock from Walmart assortment pack
- green Colorbok Textured Cardstock fromt Walmart (my closest SB supplies within 100 miles of my home)
- Clip Art - from ScrapSmart - Gymnastics Quotes - Beam Baby and Tumble girls
- Beam Legs - black cardstock from Walmart assortment pack
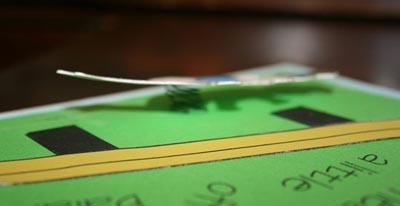
- Florist wire - for spring for fallen tumbler
- Glitter
- Color Box Fluid Chalk cat eye ink pad - Alabaster
- Xyron Sticker maker
- Pazzles Inspiration Creative Cutter
- Any Inkjet Printer
Prep work
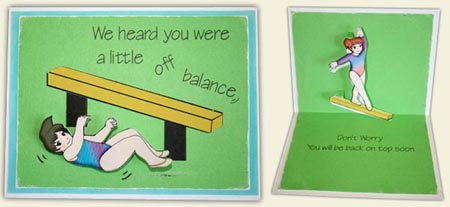
I imported the Clip art images into the Funtime Software that came with my Pazzles Inspiration Creative Cutter. I used the software and the clipart to design a pop-up Beam Baby insert, greetings, mats, beam and the 2 gymnasts. From the Funtime software I printed the greetings on green cardstock first then used the software and the Pazzles to cut the green cardstock into the pop-up insert and the mat for the front of the card. I also used a “Cut & Print” technique for cutting out & printing the beam & gymnast images on white cardstock for both the front and inside of the card. I also cut an extra gymnast base shape out of white cardstock for the front of the cards spring attachment. I cut stars to embellish the inside of the card. I ran the stars through the xyron sticker maker and then applied glitter to the adhesive. I used the cutter to cut the blue cardstock mat to the desired size, though this could have easily been done with a 12” cutter. I sanded the edges of the green cardstock and used the Alabaster ink on the edges of the blue cardstock (doesn’t show well in picture). I coiled the florist wire around a pencil to form a spring for the tumbler on the front of the card.
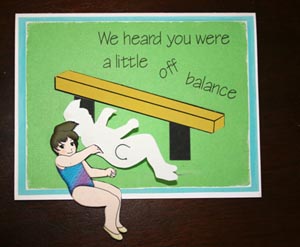
Assembly Front
I folded the 8.5”x11” 110lb cardstock in half to form the base of the card. I adhered the blue cardstock mat with adhesive to the front of the card. Then I glued the green cardstock mat on top of the blue mat. I glued the beam into place using black cardstock to form the legs. I decided on the position for my fallen gymnast and poked a hole through all the layers of the card front and the fallen gymnast base to insert the spring. I inserted the spring through the holes and adhered one end to the inside of the card and adhered the other end to the gymnast. (Spring is in-between card front and gymnast). I then adhered the “Cut & Print” fallen gymnast in place to hide the spring. I used a black pen to add some bounce motion lines.
Assembly Inside
I folded the pop-up insert on score lines created with the Pazzles then glued into place on the inside of the card. I then glued the “Cut & Print” Beam Baby gymnast to the insert using the insert cut out shape as a guide. I adhered the glittered stars. |
